We have been dealing with many winter storms since the middle of February that has brought a lot of snow. While I still see some snow in the 10 day forecast I believe the worst is behind us! I’m most likely jinxing us by saying that and by moving forward and transplanting some tomato seedlings.

We are trying something new this year that honestly I have my personal reservations about. In the past years I have used recycled plant containers and red solo cups for transplanting my tomato seedlings into but I don’t like the waste of the all the plastic. Looking at options to reduce that waste and hopefully cut down on the cost, I found non woven seedling bags. Where plastic containers are 10 to 12 cents each, and solo cups in bulk are 8 to 10 cents each, these non woven seedling bags are 2 cents each. They are described as being biodegradable and allow roots to grow through the fabric when planted directly. I opted to give this a try this year because as advertised, it solves several of my problems with plastic containers.

Due to the number of tomato seedlings I have to transplant into these non woven bags, I would need a place to keep them. One draw back to these bags I saw right off was that unlike cups or containers that can sit on a table, these bags look prone to falling over. I saw people using standard 1020 trays for holding several dozen of these. I was already wanting to build a table where I could store newly transplanted tomato seedlings and water from the bottom up, so this was the perfect time to build my giant 1020 tray! This “tray” would hold my tomato seedlings and keep them from falling over. It would also allow me to both water from the bottom up and retain water that drained out of the bags when I watered top down.

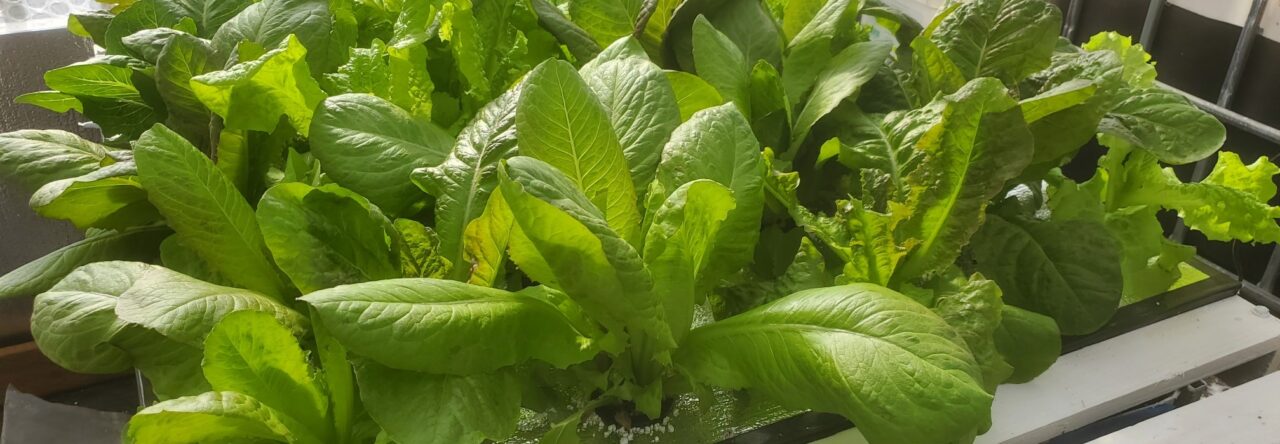
I started building my GIANT 1020 tray by putting a layer of rigid foam over a 4×8 sheet of plywood. Next I framed in the sides of my “tray” with 2×6 pressure treated lumber. After that was framed in I covered the tray with a poly pond liner. This will keep the tray water tight and allow me to do many things. Water from the top down and save water that drains through the bags, add water to the tray and water from the bottom up, or and probably the best use, will be for a shallow hydroponic tank for lettuce after the seedlings move out to the garden! (will save that bit for another article)

Since its been to cold to actually move my tomato seedlings off the heated seeding mats, I opted to start prefilling the non woven seedling bags with my potting mix.

Looking at the 10 day forecast I made a risky judgement call and with hopes the worst is now behind us, I opted to start transplanting half of my seedlings from each variety into the bags. By transplanting half, I’m hedging my bets against failure. Since I had dampened my potting soil in the bags days before, the transplanting went very quickly. In less than 2 hours I had half of my Sweetie cherry, Delicious, and Marglobe tomato seedlings transplanted into these non-woven bags.


So far I’m happy with how things are going but time is the true test. Sunday I’ll get the rest of my San Marzano and Bonnie Best tomato seedlings transplanted. I also have a lot of cabbage, peppers and other starts that could get transplanted. Because I’m not 100% sure on the weather, I’ll only be transplanting 1/2 of each into these non woven bags for now. Wish me luck!
